Field notes
Core orientation you can defend
The measurement is only as good as the mark, and the mark is only as good as the core stub. How to keep both honest.
4 min read

Oriented core turns a drill hole into structural data, and structural data is what turns a set of assays into a geological model. It is also the easiest dataset on a project to quietly corrupt, because a bad orientation looks exactly like a good one once it is a number in a spreadsheet.
What the tool does, and what it does not
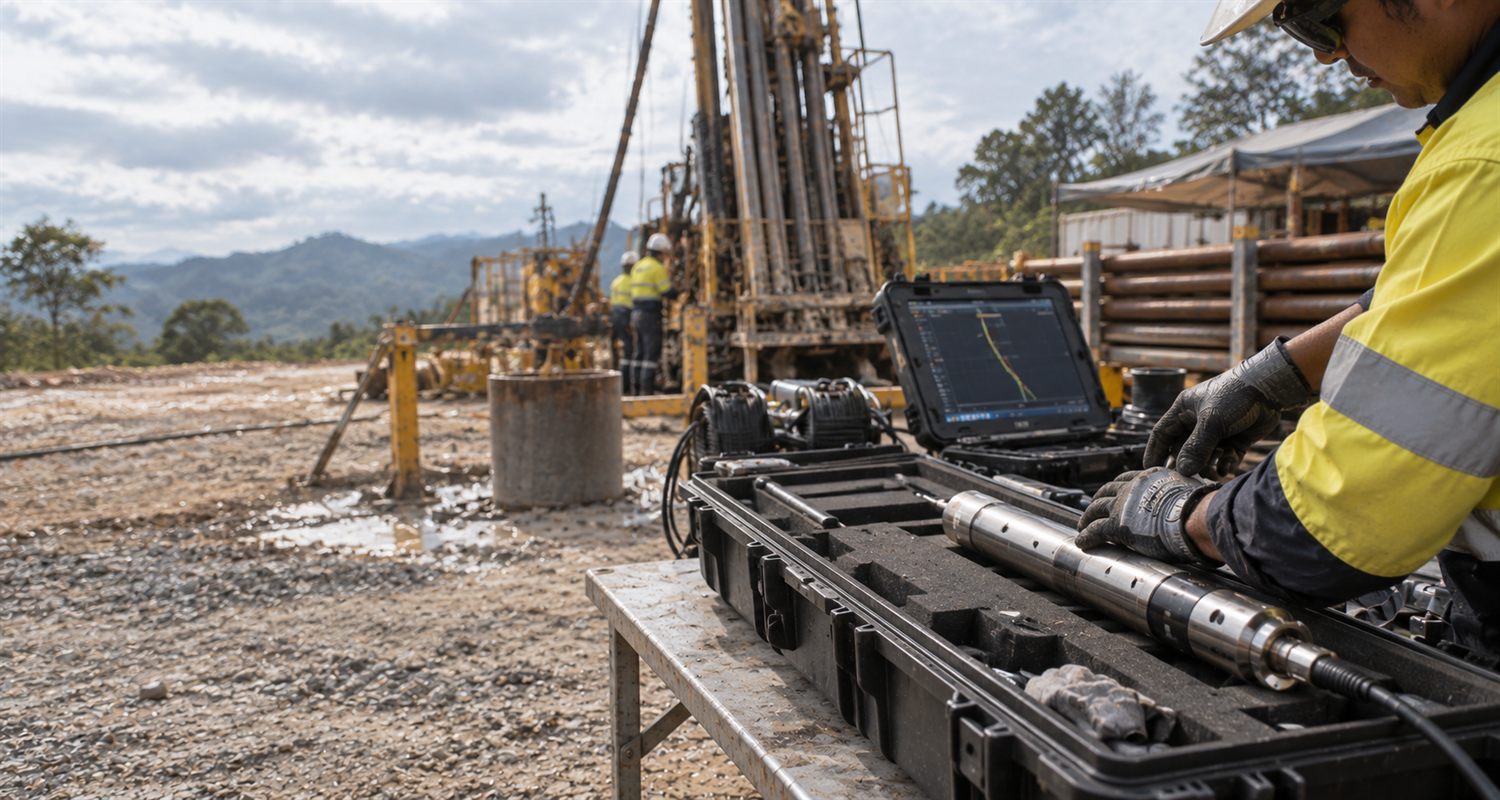
An orientation tool records the low side of the hole at the moment the run begins. Everything after that is inference: you mark the bottom-of-hole line on the core stub, you extend that line up the run as you reassemble it, and every alpha and beta angle you measure is referenced to that line.
So the tool is not measuring your structures. It is establishing one reference line, once per run, and the rest of the accuracy is craft on the tray.
The core stub is the whole game
The mark has to land on a piece of core that is still in one piece and still in place. If the bottom of the run is rubble, there is nothing to mark and nothing to extend the line from — and marking it anyway produces confident numbers that are wrong.
- In broken ground, expect a high failure rate and record it. A run marked "no confidence" is far more valuable than a run marked with a guess.
- Run shorter through bad intervals so the stub has a better chance of surviving.
- Triple tube helps twice over — it keeps the core in order and it keeps the stub intact.
- If the stub does not match the mark, do not adjust the core to fit. Fail the run.
Confidence codes are not optional
Every oriented run needs a recorded confidence: who marked it, how well the stub fitted, and whether the reassembly was continuous. Structural data with no confidence field cannot be filtered later, so a handful of bad runs contaminate the entire dataset instead of being excluded from it.
Marking and reassembly
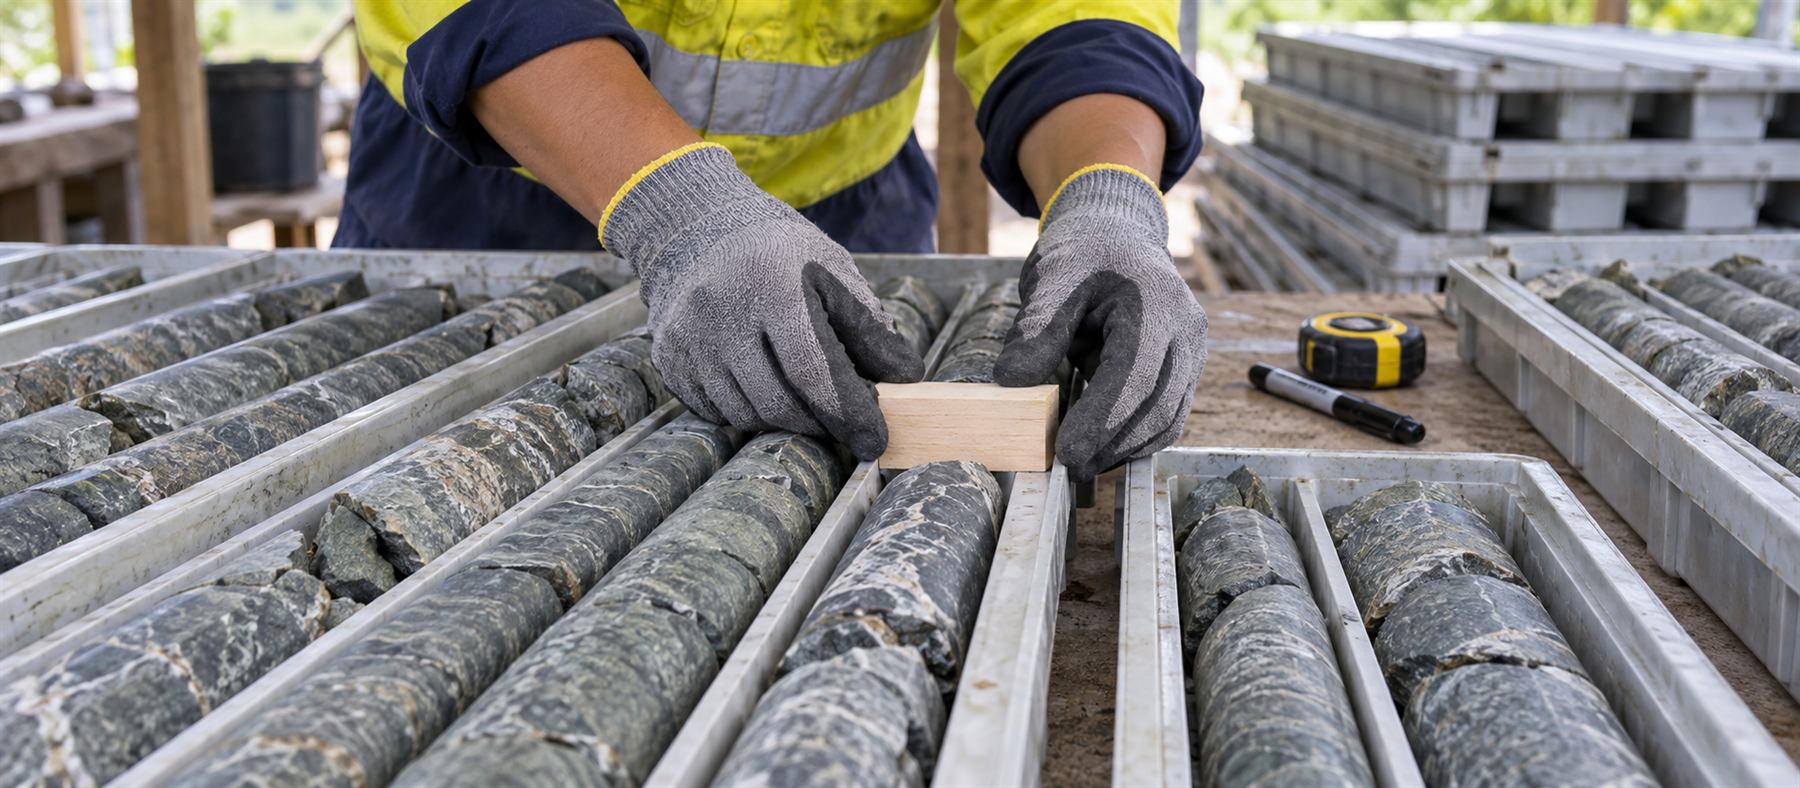
- Reassemble the run on a cradle before you mark anything. Fit every break, and stop where the fit stops.
- Mark the bottom-of-hole line continuously along the reassembled run, and use a consistent convention — one line, one colour, one meaning, across the whole project.
- Mark depth and run boundaries at the same time. An orientation line with no depth control is decoration.
- Add a second, offset reference line if the project uses one, so a rotated piece is detectable later.
- Photograph the tray after marking and before cutting. That photograph is the only record once the core is halved.
Checks that catch the failures
Orientation errors are systematic, and systematic errors show up in aggregate long before anyone notices them run by run.
- Plot alpha and beta as you go, not at the end of the program. A tight cluster that suddenly disperses at one depth is a tool or a marking problem, not a change in the rock.
- Cross-check against an acoustic or optical televiewer run in a few holes, or against mapped structures at surface, if you have them.
- Compare consecutive runs. Bedding does not usually rotate 90 degrees across a run boundary; if it appears to, one of those runs is mismarked.
- Have the same person mark the core wherever possible, and cross-train a second so quality is not tied to one roster.
Looking after the tool
- Charge and check it every shift. A tool that has flattened halfway through the shift produces runs nobody realises are unoriented.
- Confirm the survey and time settings after every service, battery change or firmware update.
- Keep the spear or landing assembly clean and undamaged; a bent spear is an orientation offset applied to every run.
- Have a spare on site. A single orientation tool is a single point of failure for the entire structural dataset.
Related in the catalogue